 The last few days I’ve been slowly importing my photos into Lightroom and having lots of fun tagging, organizing, etc. I really want to get to the point where I can go through and really get the best out of the collection, or even just pick out something that is say, yellow and a flower as something to get on the wall. My thinking is that if I can do the import and tagging of pictures, then it’ll be easy. So I’ve been (mostly) resisting the urge to do any rating of images, or editing, or playing around and doing the “what’d this look like in black and white?” or “would a LAB conversion make this look better?” thing.
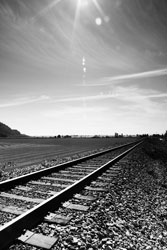
Anyway, to the right you’ll see a shot from late summer of last year that I wasn’t able to resist the urge to tinker. Some levels adjustment and then ran through the Alien Skin Exposure black and white plugin (harsh landscape setting I believe).
Update: For Fozbaca I’ve posted the original image and the pre-black and white versions below if you care to continue reading and check ’em out.

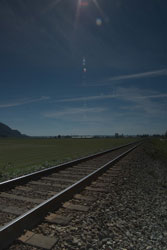
Here is the original image, or pretty much as close to it. Dull color, underexposure (shooting into the sun) and lots of dust spots are the things I’m least proud of 🙂

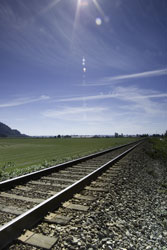
Here is the color “final” version of the image. Dust spots taken care of nicely, adjusted with curves and exposure correction (actually synced the settings as there were two or three shots with the same exposure problems… again I have to say “yay” to Lightroom for it’s “sync settings” command).
Probably the next step would be to try to re-frame it to get rid of the sun glare or even try to repair and eliminate the sun glare with Photoshop….. hey, I love LAB color… I just did this in about 10 minutes just by mucking in the A, B and L channels. Not perfect by any means, but damn fast to do that amount of work…. Wh00t!