After spending a while hitting the limit of my laptop hard drive, and being annoyed with being forced to actually cull my data and videos and music to make it all fit, I finally realized that for under $100 I could almost triple the storage space I had in it with little or no worries (other than possibly voiding the warranty, not an issue in a 2.5 year old machine). It was actually pretty easy to do, other than one or two minor blips. There’s lots of information online about how to do it, and other than the minor detail of needing a computer to read the instructions on while you have the computer open with it’s guts exposed, it was up and done with no muss and no fuss.
First things first, reading resources.
- This Extreme Tech article is great, and being the first hit on google was nice.
- When I did run into one thing I needed confirmation on, this video showed that there were minor differences in the versions of the hardware (or at least from the first article).
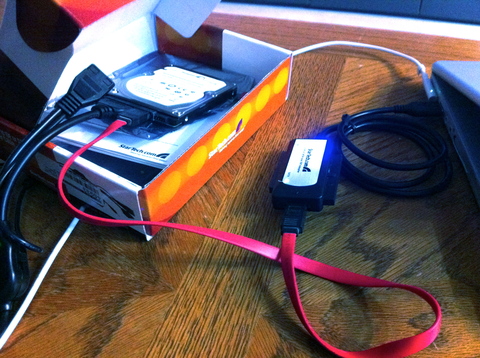
So for $79 I picked up a 500G, 7200rpm laptop drive, and a few dollars more I got the SATA to USB connector kit that would let me connect the drive to the computer as a USB drive. This was needed to make the upgrade smooth. Oh, and a T-6 Torx screwdriver as well, as per the article. Seems apple can’t leave it at just one type of screw in their bodies….
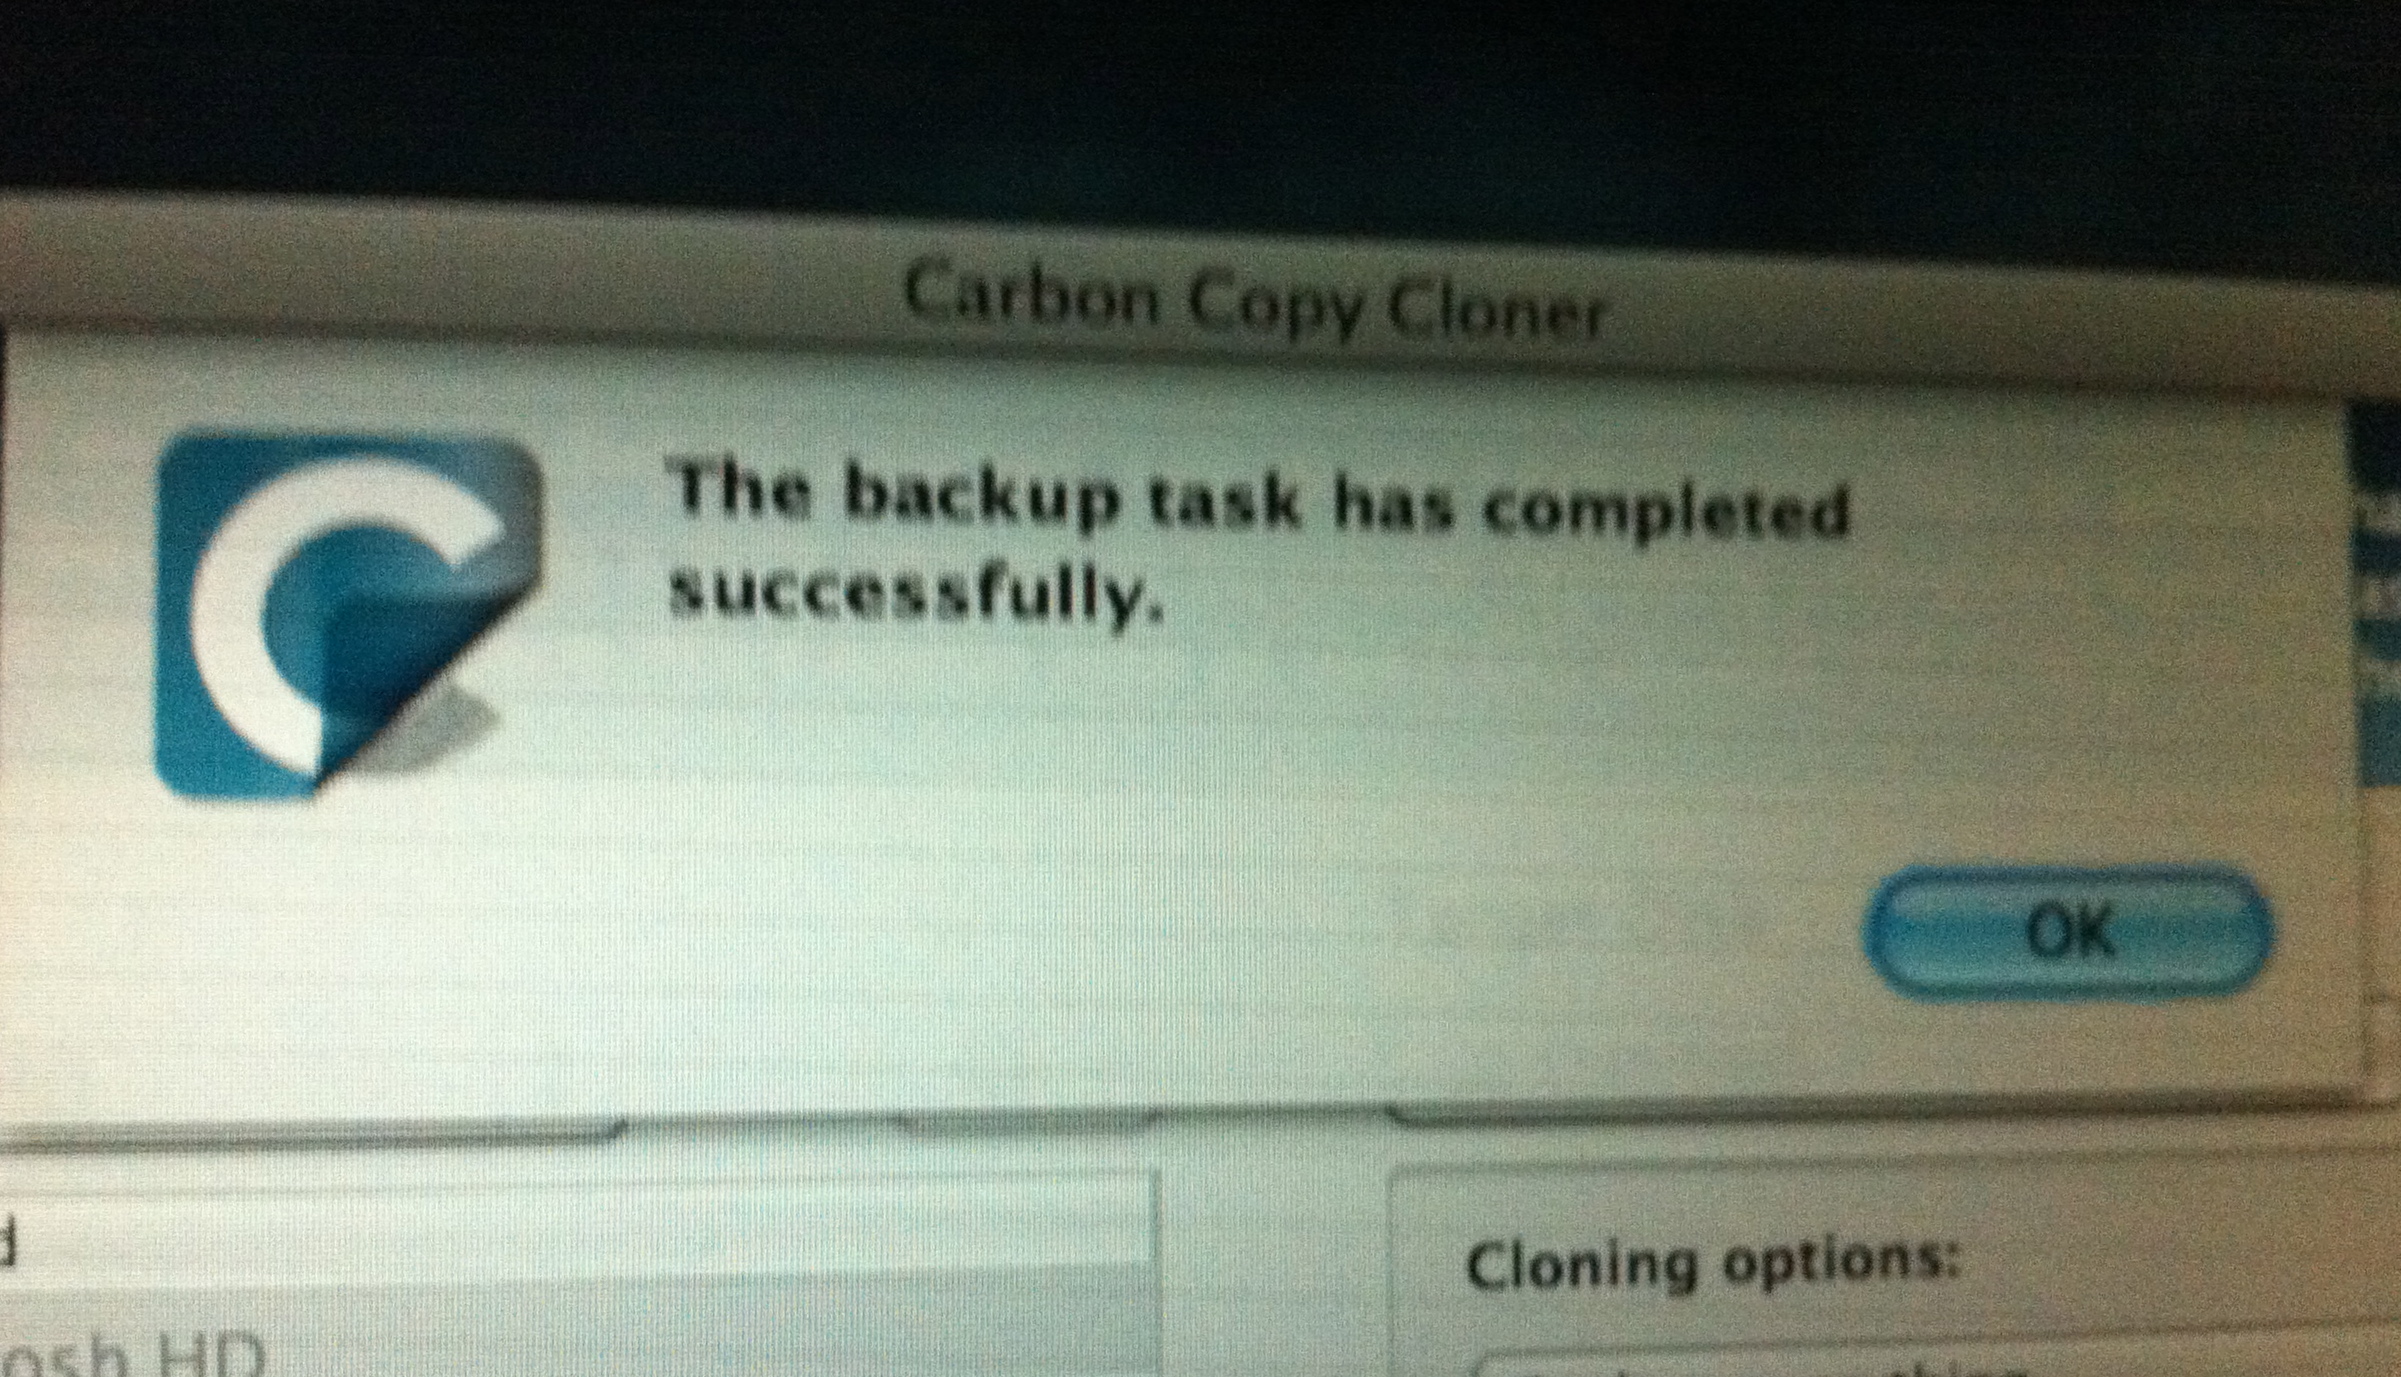
When I got home I made sure my homebrew time capsule backup was current, and nuked a few un-needed big files from the desktop. I assembled the SATA drive and adapter and plugged in the drive, formatted it, and then I broke out Carbon Copy Cloner. CCC is an awesome utility that basically will clone one drive to another and make it bootable if needed, so for me the theory was clone old drive to new drive, swap out drives, boot up on new drive, with all my data in place and no issues. In theory.
Unlike most stories about me and hardware, this time the theory was the reality. I assembled a bit of paper to keep track of which screws went where, consulted the webpages a lot for each step, got a little scared with the sticky cable attached to the top of the drive, and in the end, reversed the whole process to put it all back together.
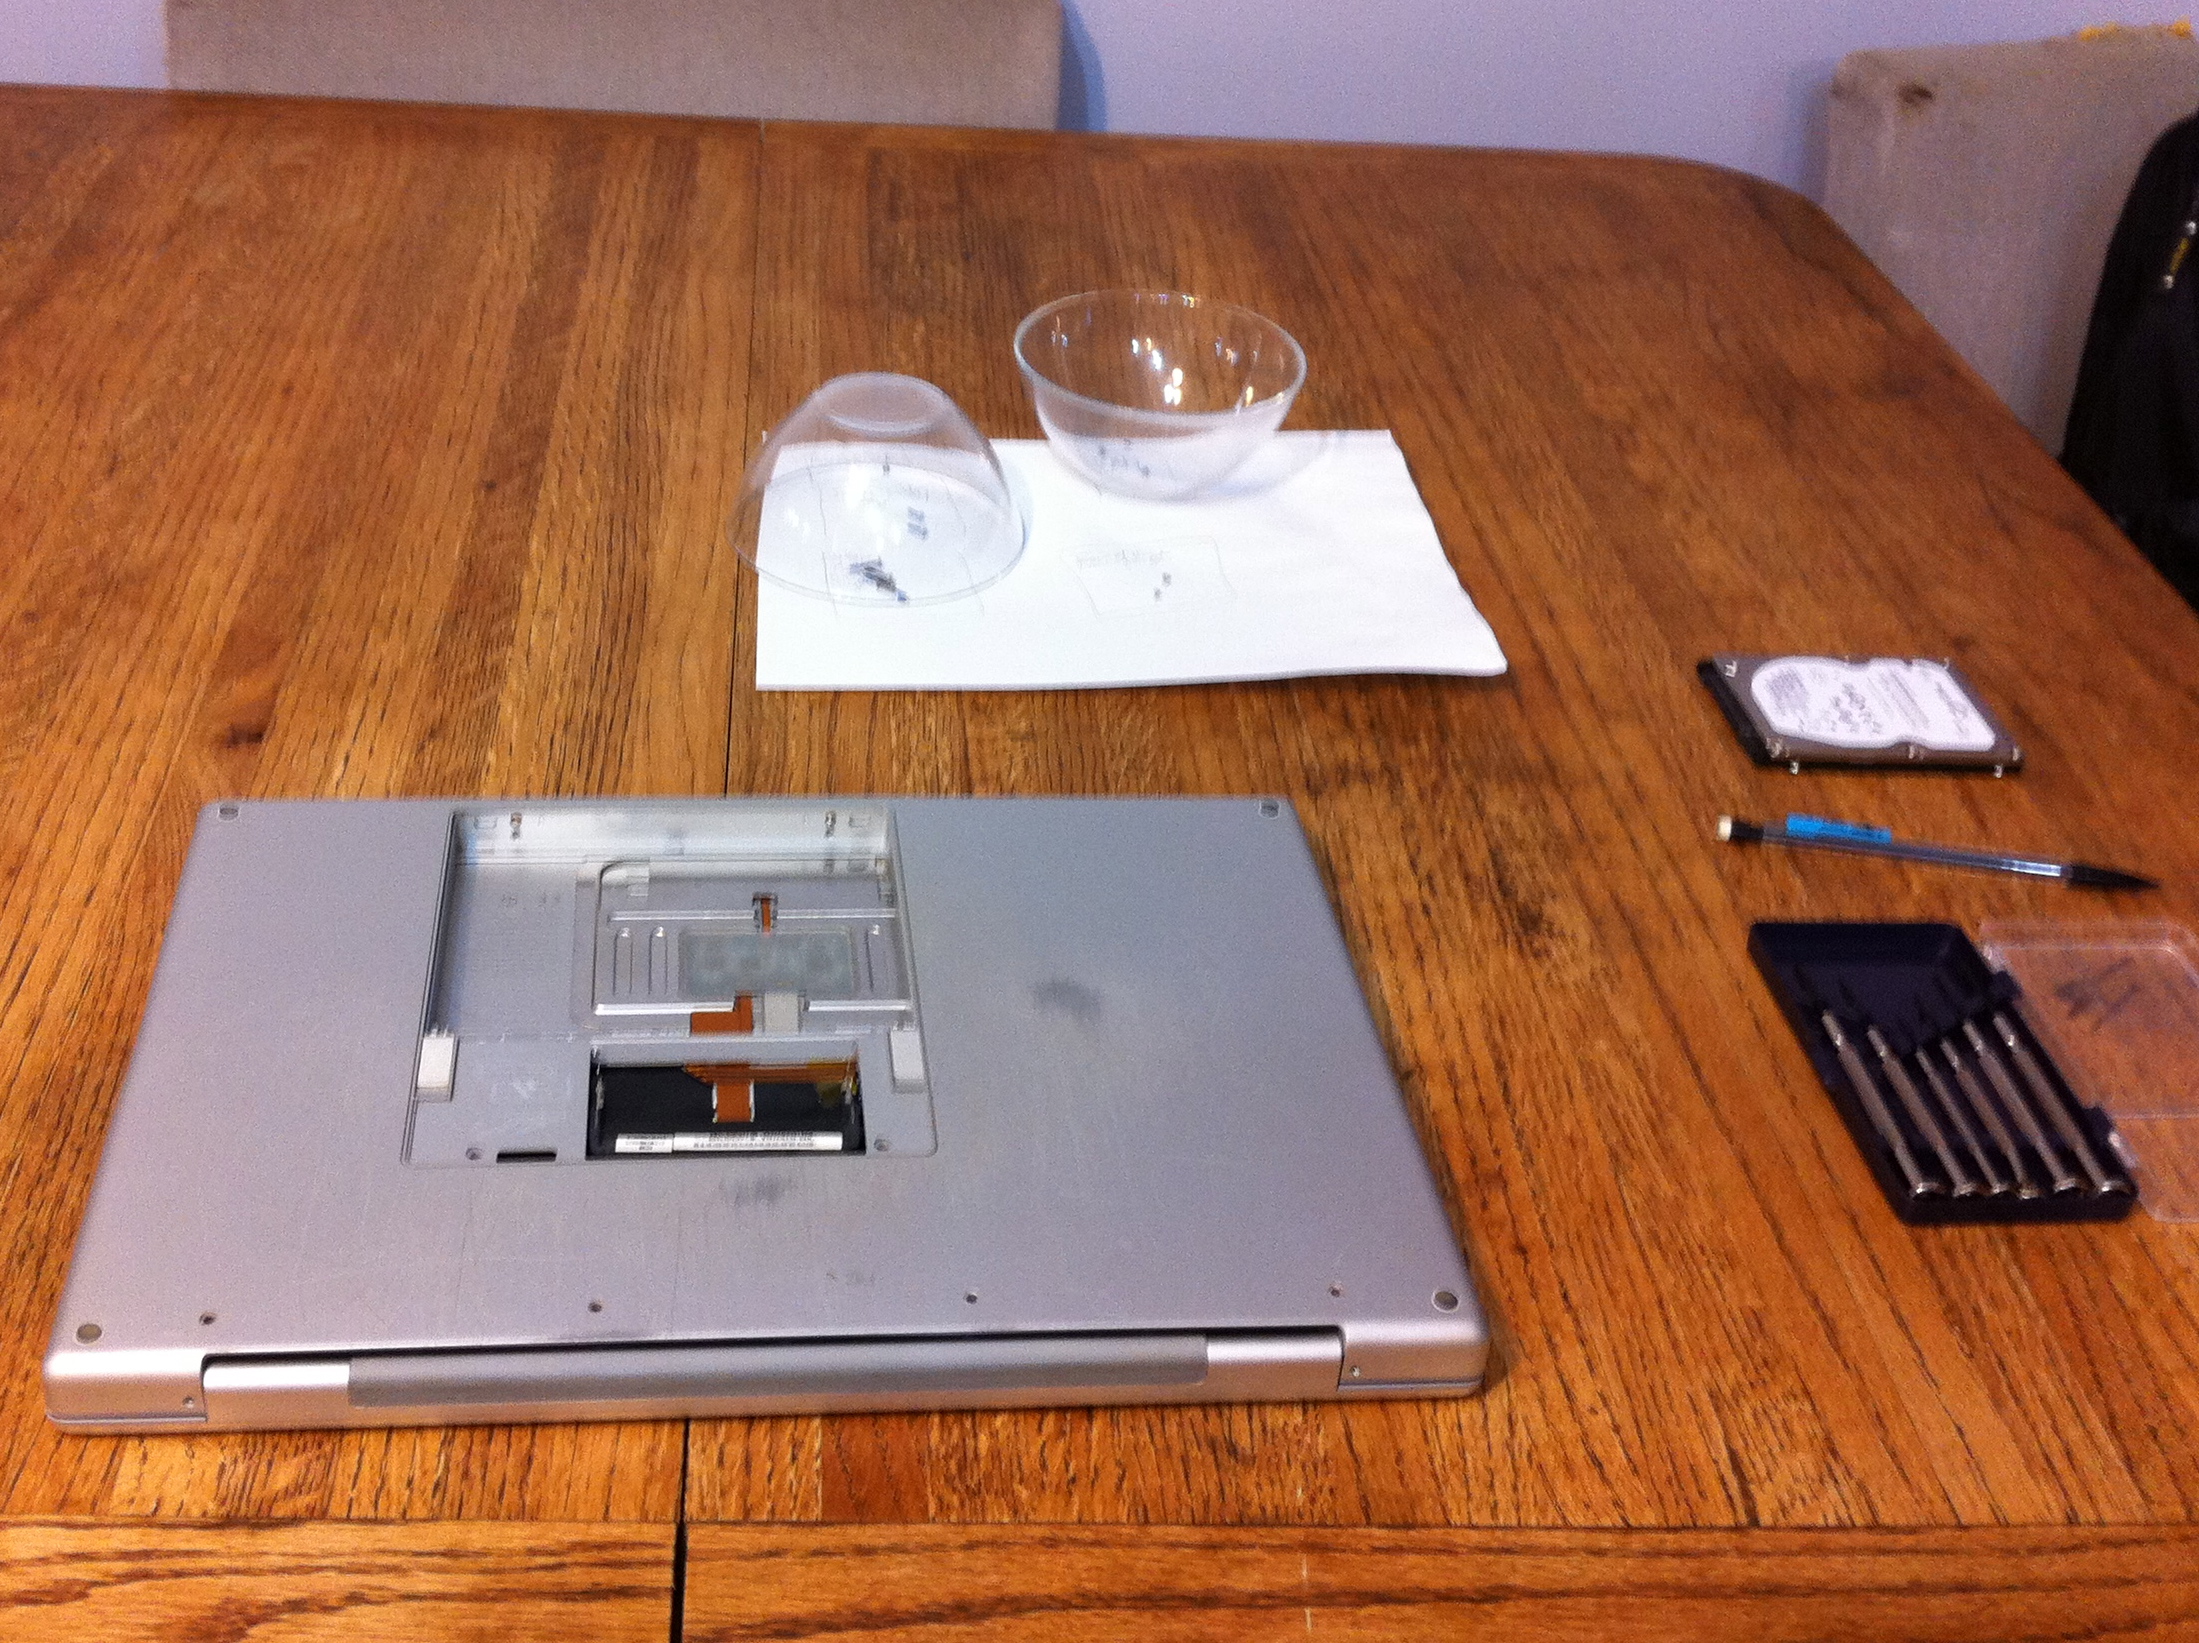 End result, computer working properly, more than twice the disk space, and only about $100 spent on tools, adapters, and the actual drive. Well worth saving the random “dangnabbit what else to I have to delete now!?” yells.